Spinning Wheels and Spinning Wool: A Beginner’s Guide to a Timeless Craft
There’s something magical about turning a fluffy handful of wool into a skein of yarn with nothing but a spinning wheel and a bit of patience. Spinning wool is an ancient craft that connects us to history, creativity, and the simple joy of making something with our hands. Whether you’re a knitter looking to create custom yarn or a curious beginner drawn to the rhythmic hum of a spinning wheel, this guide will walk you through the basics of spinning wheels and how to get started with spinning wool.

Schacht Matchless Spinning Wheel
What is a Spinning Wheel?
A spinning wheel is a tool that twists fibers—like wool, cotton, or alpaca—into thread or yarn. While hand-spinning predates it (think drop spindles), the spinning wheel revolutionized the process in the Middle Ages by speeding things up. Today, it’s both a practical tool and a beloved piece of artistry, with designs ranging from traditional wooden beauties to sleek modern versions.
At its core, a spinning wheel has a few key parts:
Wheel: Turned by hand or foot (via a treadle), it powers the spinning process.
Flyer and Bobbin: These work together to twist the fiber and wind the finished yarn.
Drive Band: A belt or cord that connects the wheel to the flyer, keeping everything in motion.
Tension System: Adjusts how fast the fiber is pulled in, giving you control over your yarn’s thickness.
There are different styles—like the upright “castle” wheel or the classic “Saxony” with its slanted frame—but they all share the same purpose: transforming raw wool into something you can knit, weave, or simply admire.
Why Spin Wool?
Spinning your own wool lets you customize everything—color, texture, thickness—to suit your projects. Plus, it’s deeply satisfying. You start with a cloud of fiber, often straight from a sheep, and end with yarn that’s uniquely yours. It’s sustainable, too—supporting local shepherds or even raising your own flock if you’re adventurous!
Wool is a fantastic fiber for beginners because it’s forgiving. Its natural crimp (that wavy texture) helps it grip together as you spin, making the process a little easier while you learn.
Getting Started: What You’ll Need
A Spinning Wheel
New wheels can cost anywhere from $100 to over $1,000, depending on craftsmanship and features. Used ones are often a budget-friendly option—just check that all parts move smoothly. Brands like Ashford, Schacht, or Louët are popular for their reliability.
If you’re not ready to commit, try a drop spindle first. It’s cheaper (often under $20) and teaches the basics of twist.
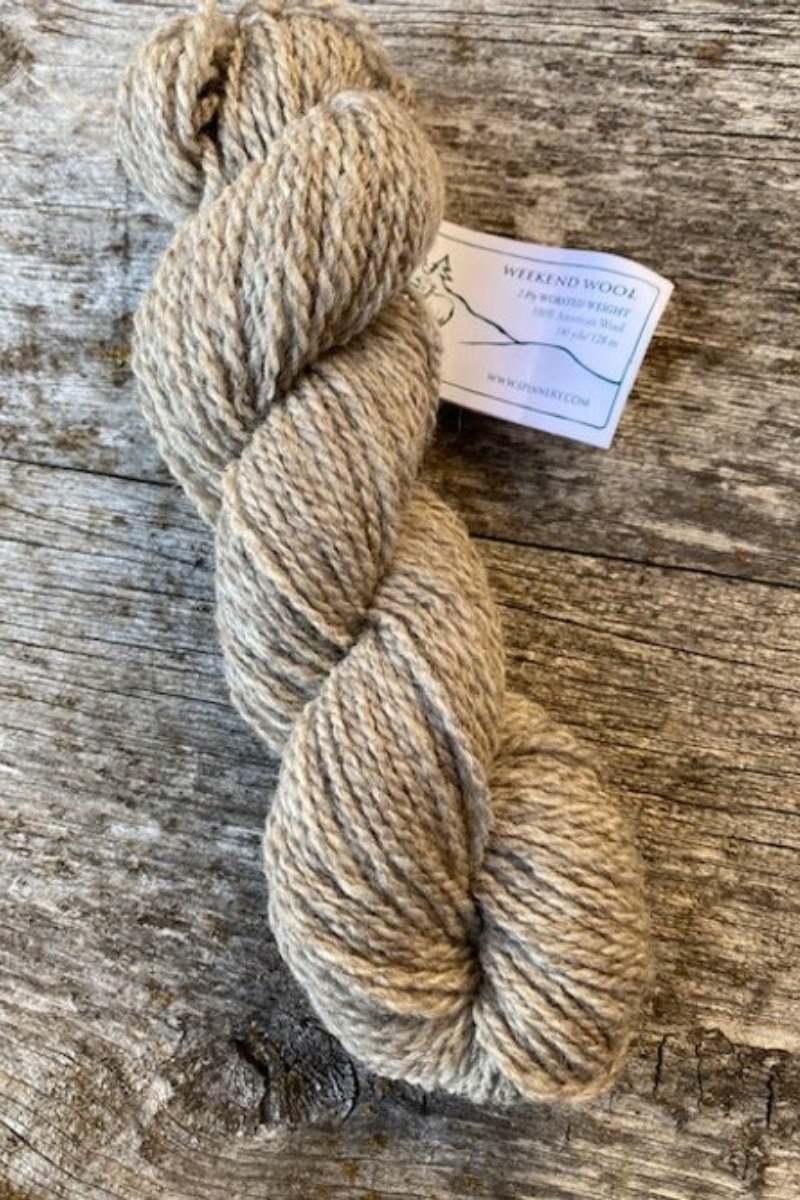
Wool
Look for “roving” or “top”—wool that’s been cleaned and carded into a long, fluffy strand. Breeds like Merino (soft and fine) or Corriedale (sturdy and beginner-friendly) are great starting points.
You can buy pre-dyed wool for instant color or natural wool to dye yourself later.
Time and Patience
Spinning is a skill that grows with practice. Your first yarn might be lumpy or uneven—and that’s okay! It’s all part of the charm.

Roving for spinning
How to Spin Wool: The Basics
Here’s a simple rundown to get you going:
Set Up Your Wheel
Adjust the tension so the wool feeds onto the bobbin without pulling too hard or slipping. Start with a medium setting and tweak as you go.
Prepare Your Wool
Gently pull your roving into a manageable strip, about the width of your thumb. Don’t overstretch—it should feel airy, not tight.
Start Spinning
Attach a “leader” yarn (a short piece of pre-spun yarn) to the bobbin to guide your wool. Hold the wool against the leader, then start pedaling (or turning the wheel) to add twist. Clockwise twist makes “Z-twist” yarn; counterclockwise makes “S-twist”—either works for beginners.
Let the twist travel up the wool, then guide it onto the bobbin by drafting (pulling the fiber gently apart). The trick is finding a rhythm between pedaling and drafting.
Find Your Flow
Keep your hands light and relaxed. If the yarn gets too thin and breaks, overlap the ends and twist them back together. Too thick? Draft a little more before letting it wind on.
Finish Your Yarn
Once your bobbin is full, unwind it into a skein (a loose loop) using a niddy-noddy or chair back. Soak it in lukewarm water to “set the twist,” then hang it to dry. Voilà—yarn ready to use!
Tips for Success
Practice Makes Perfect: Don’t aim for flawless yarn right away. Even “art yarn” with its quirks has a rustic beauty.
Join a Community: Online forums, local spinning guilds, or social media groups can offer advice and inspiration.
Experiment: Try blending colors or adding bits of silk or sparkle once you’re comfortable.
Why It’s Worth It
Spinning wool with a wheel is more than a craft—it’s a way to slow down, create, and connect with a tradition that’s been around for centuries. Every skein tells a story, from the sheep it came from to the hands that shaped it. Whether you’re spinning for a sweater, a gift, or just the joy of it, you’re keeping a piece of history alive.
Ready to give it a whirl? Grab some wool, sit down at a wheel, and let the rhythm take over. Happy spinning!